Wardrive without a GPS module and WiFi adapter that supports monitor mode, but a Raspberry Pi

Hi there,
I hope you are well. In this article, I will describe how you can plot all the WiFi networks in your area on map. This article will contain the following:-
Backstory
Hardware requirements
Installing the app on your mobile phone
The code
You can read about what wardriving is on Wikipedia
So, let’s get started
Backstory
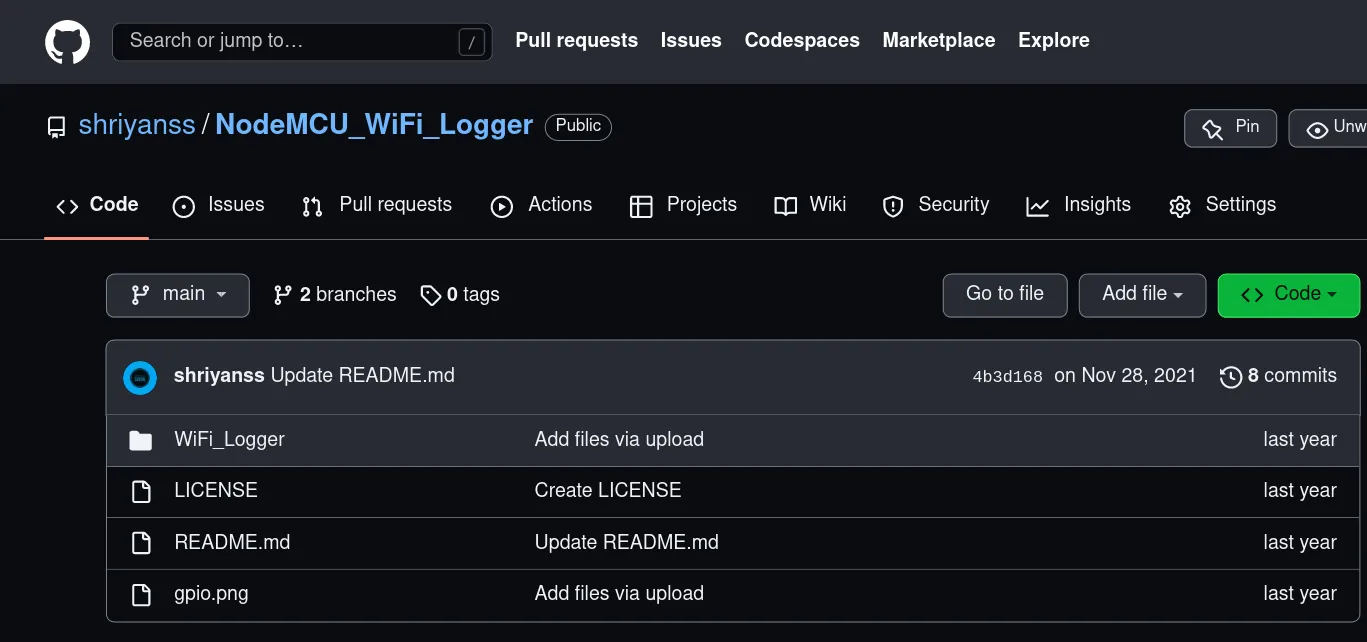
I was very fascinated when I heard about hacking WiFi, in fact, I started hacking to get free WiFi 😅, but then after I jumped into it, I started web hacking. So, keeping my wish for WiFi hacking, I somehow wrote a script for NodeMCU (it is a micro-controller with an onboard WiFi chip, which costs about ₹400 — approx $5. Read on Wikipedia here). It just collected the names of WiFi and not the GPS data. You can access the script I used for this at my GitHub page at https://github.com/shriyanss/NodeMCU_WiFi_Logger

Getting on the main point, in this attempt, I collected WiFi information which contains the following things:-
SSID
ESSID
Channel
Quality
Signal level
Encryption info
It also contains a timestamp, but it is not a part of WiFi.
The same thing can also be done with the help of just a mobile phone, but in this case, I wanted raw data, that is according to me, so I continued with this method
Hardware required
I used the following things for this wardrive:-
A Raspberry Pi to collect WiFi information
A mobile phone to collect GPS data
A power bank for power supply
Installing application on your mobile phone
For tracking GPS, we also need an app installed on our phone, which will output the results to a file.
In my case, I am using an app named GPS Logger. This is a quite simple app and is according to our needs. You can download the app from Google Play here
If you are an iOS user, you can use an equivalent app for this task.
After you are done installing, just follow the steps below:-
Open the app
Go to the settings of the app (from three dots on the top right corner)
Switch on the following: *Keep screen on *in interface, *Export Tracks in TXT*and *Export Tracks in GPX *in the exportation menu.
Also, make sure that you export the timestamp in the same timezone, else you may use GMT
Set GPS Update interval in tracking to 1 second
The algorithm
Before diving into the code, let’s discuss the algorithm of the software.
Mobile Phone
Our mobile phones have an inbuilt GPS sensor. To get the data from that GPS sensor, we are using an app from the Google Play store/App Store. The data we will export will be in CSV format, which means it is easy to read and process
Raspberry Pi
This will run the script, which will contain the WiFi information described above, as well as a timestamp
Synchronizing the data
In the output from both devices, we have the timestamp as common. So, we can use timestamps to get the GPS coordinated at a particular time.
The Code — #1
First, let’s go wardriving and collect some data. The first script we will need is to collect WiFi networks in CSV format. Also we need the timestamp as described above. So, the code is:-
Check out the script at https://gist.github.com/shriyanss/914cbcd27428c668be03406b38c76de0
Make it executable using chmod +x scan.sh. Now, we need another script that will keep running it. For this I can a simple python script:-
from os import system
while True:
    system("./scan.sh")
So the command we need to run is: sudo python3 main.py > wifi.csv
This will pipe the output, i.e. CSV to a file called wifi.csv .
No, the only task is to go out, and collect data. Just switch on the GPS Logger app and an SSH app and keep in the split screen view.
Points to remember
Switch on the GPS Logger app first, and then SSH scanning so that we won’t get an entry for which we don’t have GPS coordinates. The same goes for switching off.
Keep the speed slow (~20 km/hr) when there is more possibility of getting WiFi, or you may do it according to the length of the wardrive route
Try to stay near buildings, e.g. on the left/right side of the road where there are buildings.
Prefer a bicycle/motorbike with a backpack to keep accessories.
Getting GPS data from the phone
To export data from the app, just go to *GPS Logger app -> Tracklist -> Click on the route (e.g. the on top 😅) -> Click on the ‘up arrow’ *and the file will be exported to the specified location
Now, copy the .txt, .gpx file to your computer, and edit the file extension for .txt file to .csv
Plot the route on the map
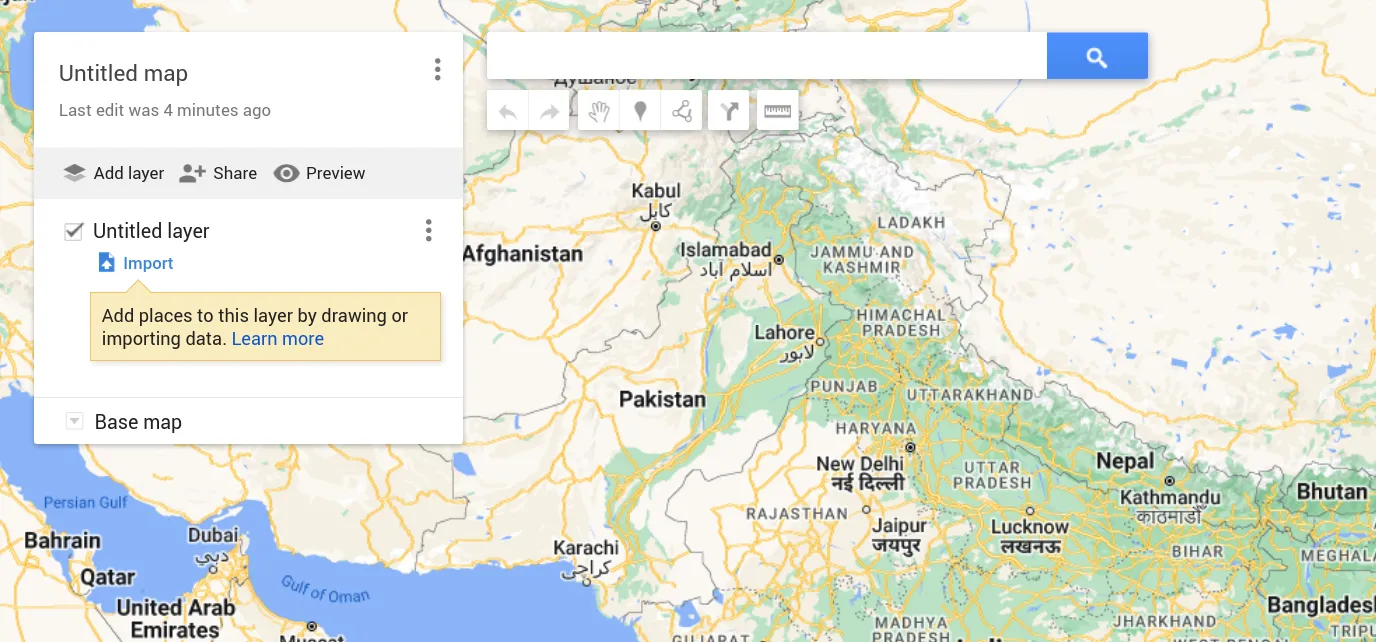
Now, you can use any map to view your route. But in my case, I used Google My Maps. Just click on “CREATE A NEW MAP”, and you will see a screen like this:-

Just click on “Import” under “Untitled layer”, and upload the .gpx file you got from the GPS logger app. It will plot the route on the map.
The Code — #2
Now, we need a code to plot all WiFi APs on the map. For this, you can use the following script:-
Check out the script at https://gist.github.com/shriyanss/1c0007c1822bec471e1d1c5c771f9bc9
Before you run the script, make sure to use the right files on lines 4 and 5.
Now, just run the script, and it will give the kml file to be plotted on Google My Maps
IMPORTANT: Don’t forget edit the file names in line 4 and 5, otherwise the script will end up with an error
Just run the following command to write data to a file:
python3 data_sorter.py > wifi-ap.kmlNow, go to Google my maps, click on “New Layer”, and it will plot all WiFi AP on the map
Please note that it is being sorted on the basis of AP name. To sort on the basis of SSID, please refer lines 143 to 146

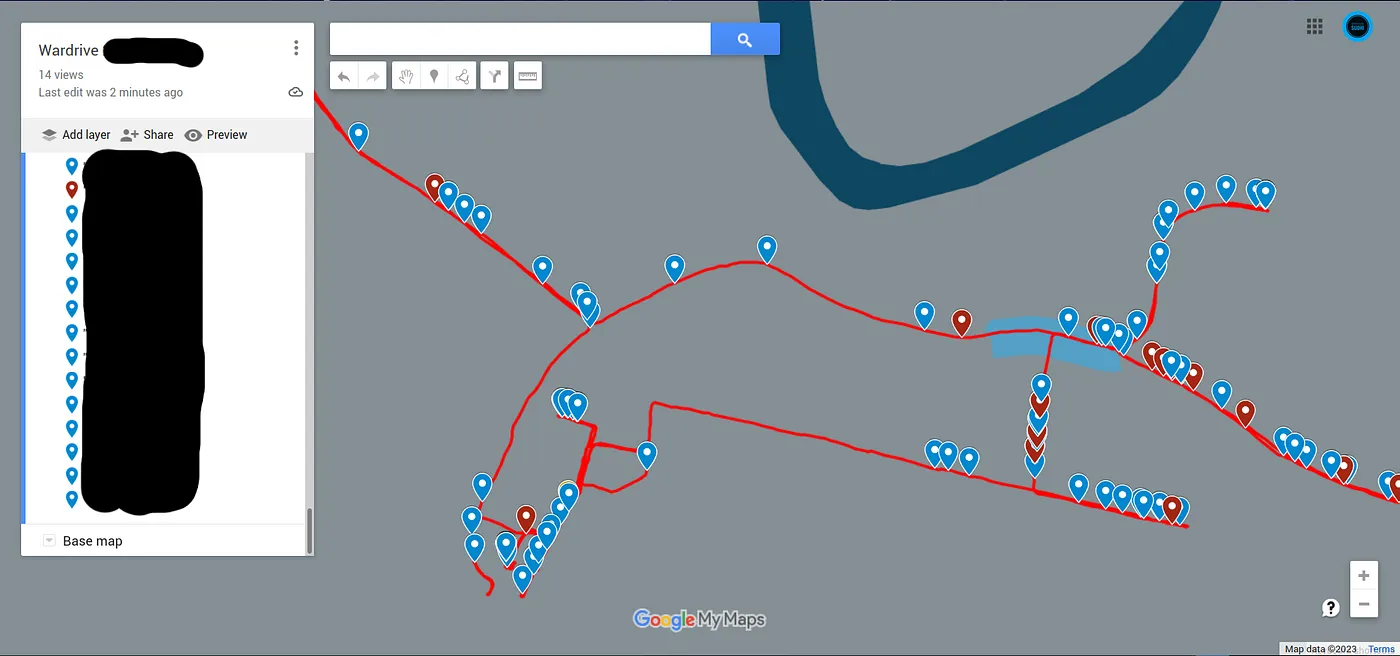
In the above image, you can see all WiFi APs plotted on the map. Please note that I’ve changed the view to *“Dark landmass” *through the base map and redacted all WiFi AP names for privacy.
Final notes
This is a demonstration of how one can do wardrive with given equipment. In the next article, we will discuss how we can **crack these WiFi networks, without the help of a WiFi adapter that supports monitor mode. **Also, there are more chances of errors if the device is not configured properly. Feel free to drop your query in the responses.
I hope that you liked this article 😄. Feel free to follow me for more. Also, if you want the next part, feel free to subscribe to my mailings list.